Electrical and Lighting
The most extensive modifications…
Out of all the additions and modifications, the lighting and electrical upgrades have proven to be the most time consuming. If you spend a lot of time in the backcountry (or even just on lonely back roads), appropriate lighting is actually a safety issue. The lighting configuration chosen for the Trail Wolf WK2 is based on personal needs and experiences. Below, I will detail why this setup was chosen, but I want to be up front that it is personal and certainly may not reflect anyone else’s perfect setup. Something else worth mentioning up front is that if your vehicle is almost always used on road, spending any money on auxiliary lighting is really a waste. Most aftermarket lighting is not legal almost everywhere to use on public roads. Doing so isn’t just a selfish violation, they can cause very real hazards to other drivers. So, please don’t be “that guy” running his light bar on around town.
Before we dive into all the specifics here, it’s worthwhile to mention that not only is it important to choose lighting that is quality and fits your particular needs, the installation is probably more important. Substandard amateur wiring is a good way to cause damage, or even a total vehicle burnout, and poor placement and aiming of lights makes them ineffective at best, dangerous at worst. Also, not all lighting is created equal. That may be common sense, but understand what you are buying. There are major differences in build quality, real world output, optics, and operating characteristics with aftermarket lighting. Don’t kid yourself that a $120 LED light bar made by communist slave labor in Asia is “the exact same thing” as a USA made $1500 light bar of a similar outward appearance. It may be a viable alternative for you, but it’s NOT THE SAME. Yes, even if it looks the same, it’s not. Not ALL of the LED pods and bars are made in China, so it does potentially matter what you buy. Amazon and Ebay are absolutely teeming with cheap, substandard ripoffs of Rigid Industries, Vision X, and Baja Designs products. There are multiple reasons why, but that subject deserves its own article.
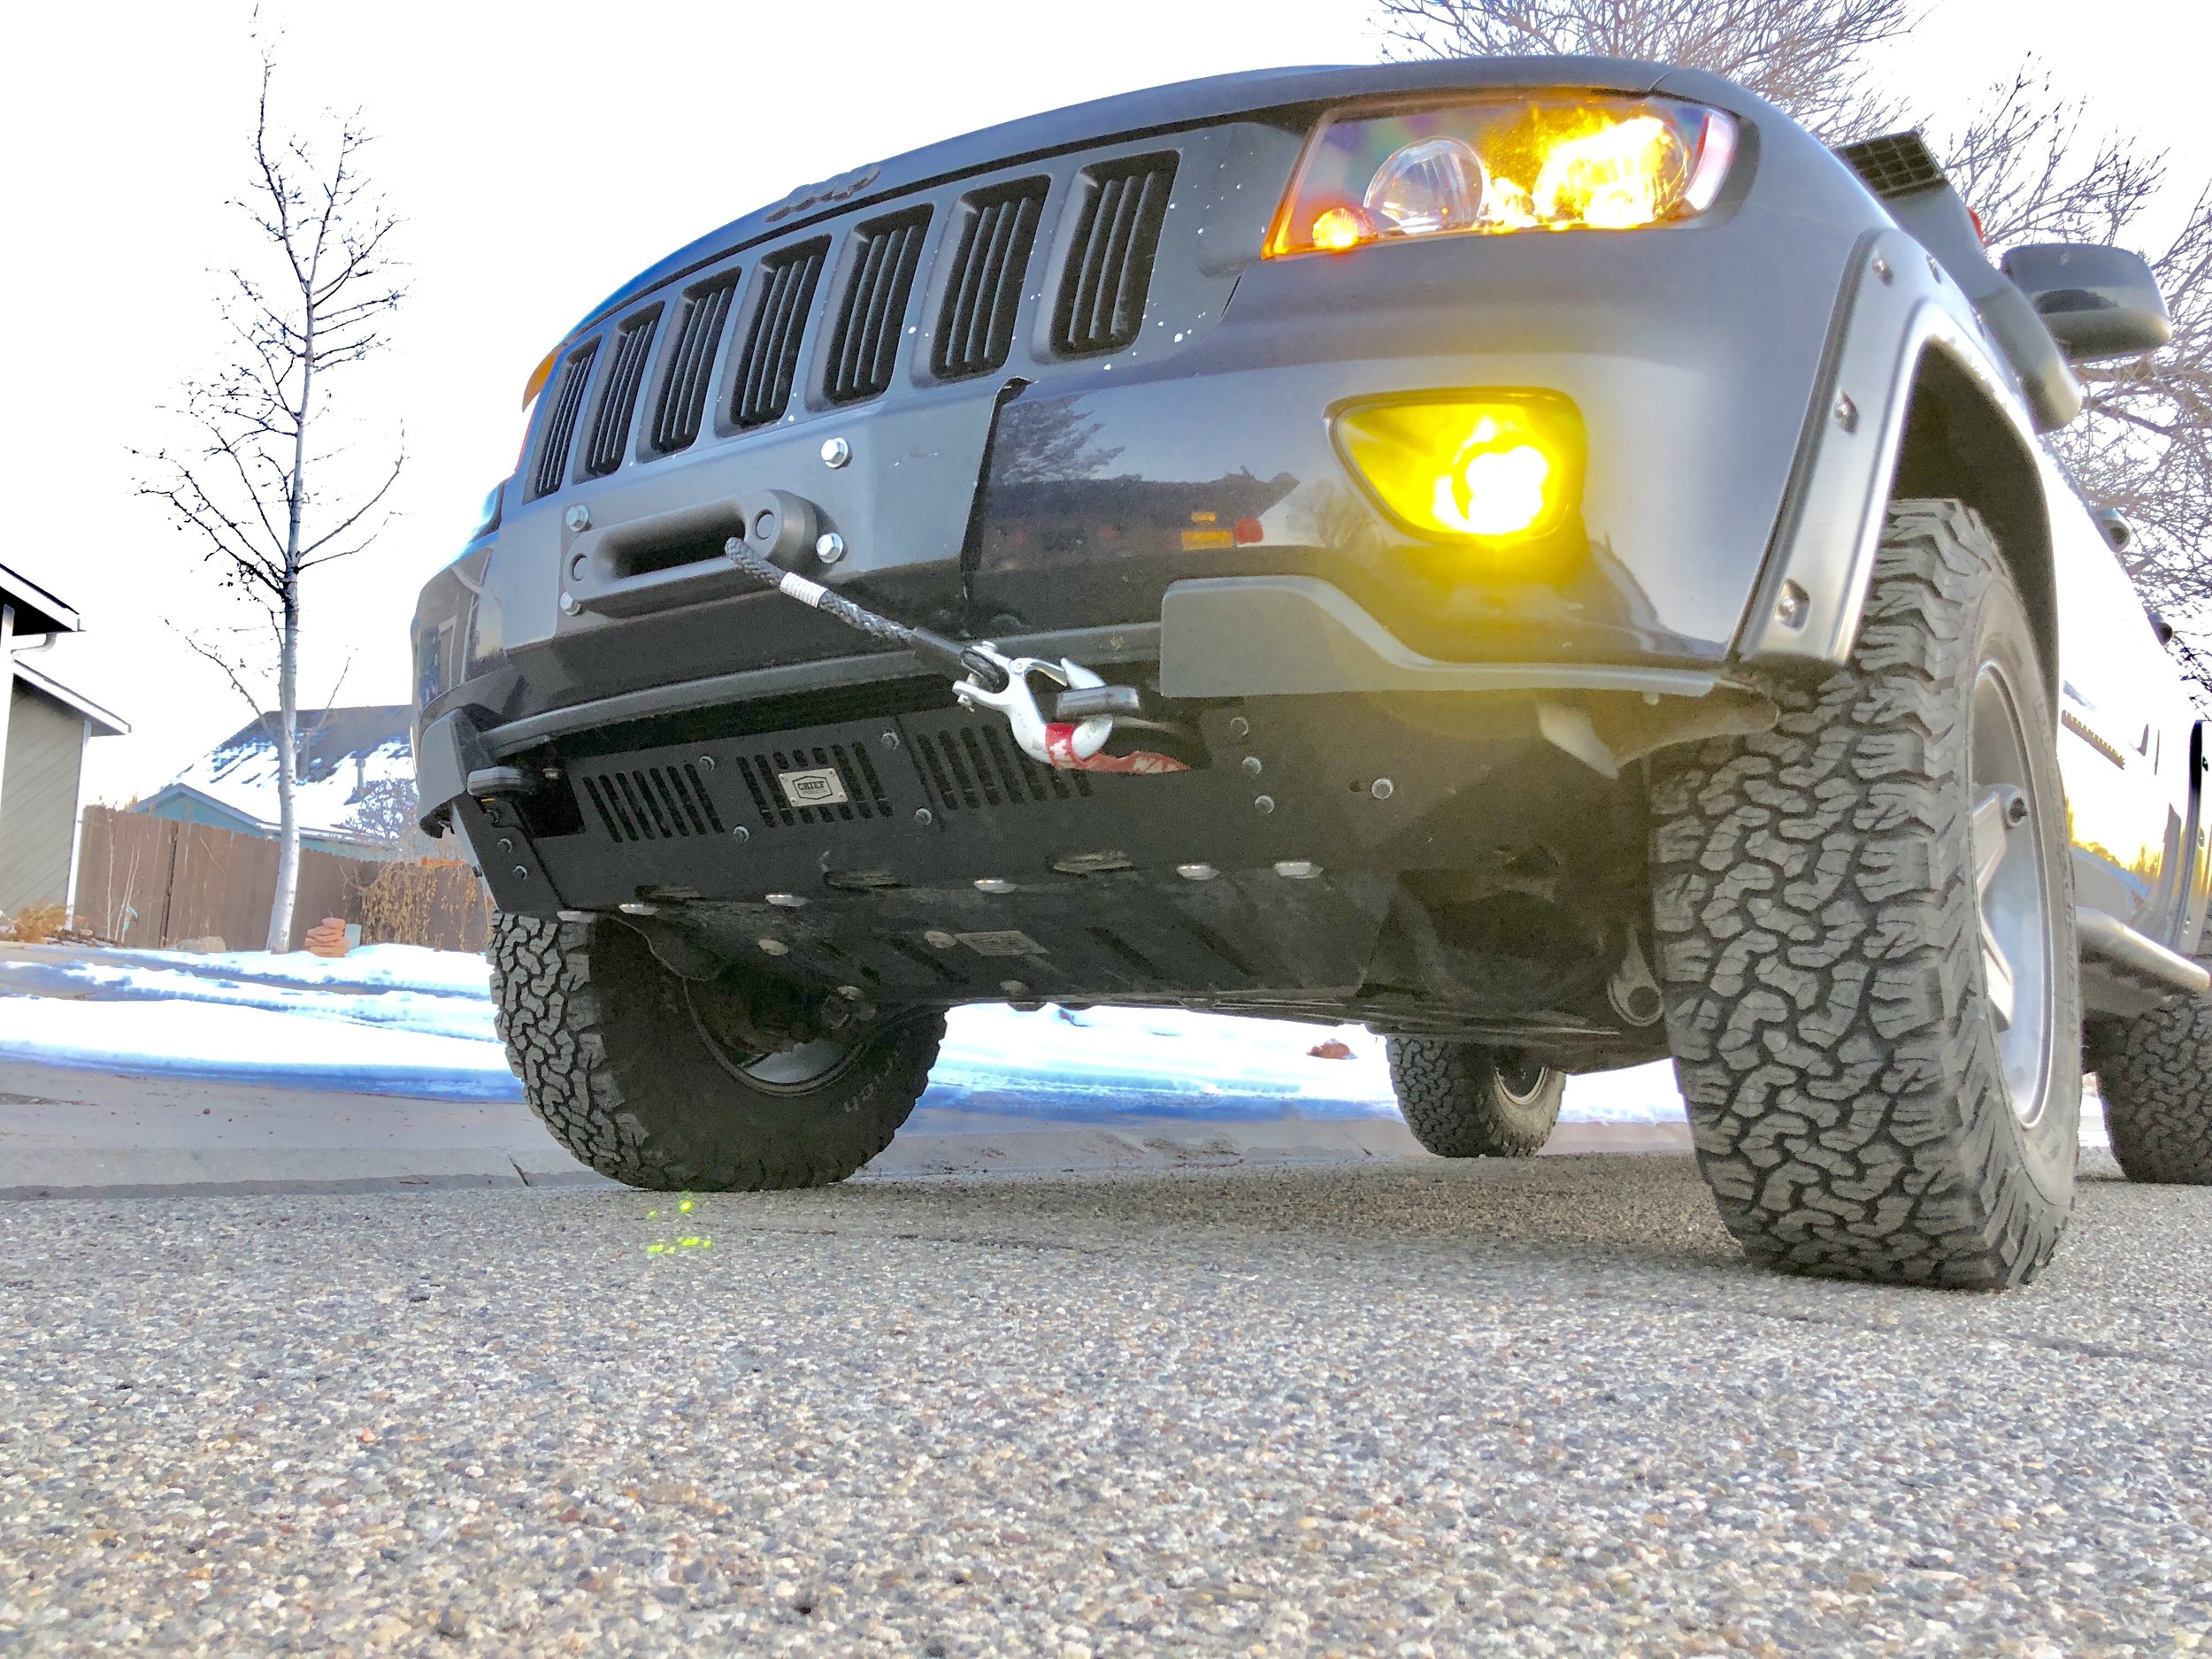
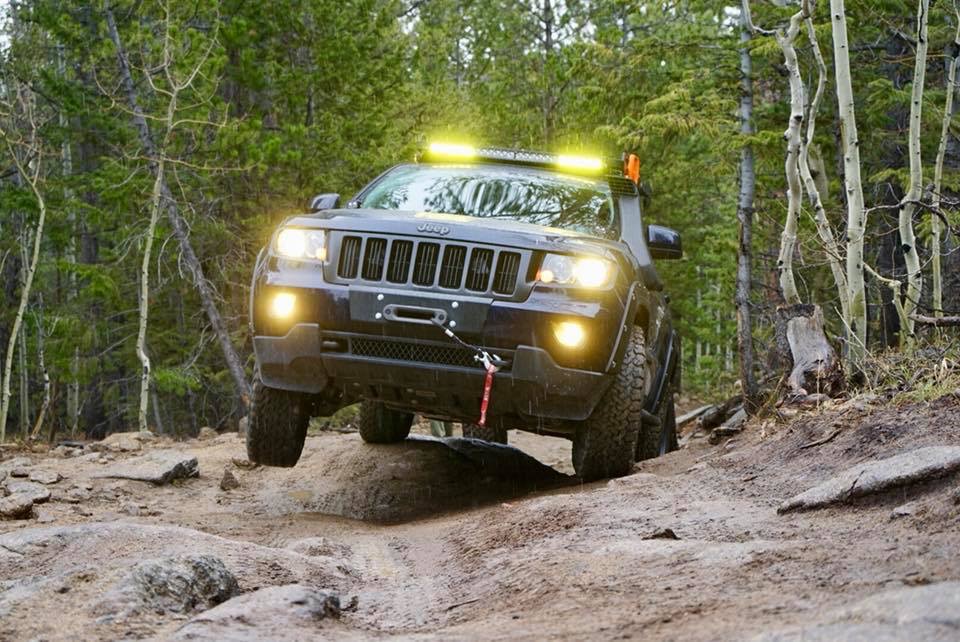
Factory Lighting: There were some modifications to the Jeep done even in regards to OEM lighting. It was mentioned earlier that Altitude model headlamp housings were swapped in. This was purely cosmetic in order to have a blacked out housing instead of chromed. However, aftermarket halogens were installed. The low beams were equipped with low frequency (2300K) bulbs and the high beams with a neutral white (3600K) high output. Halogens were retained in the housing mainly because that is what these particular 2012 housings were designed for, and so that the lenses would be self-clearing of ice and snow. The low beams appear quite yellow. This is purposeful as I live on the western slope of Colorado, and it is not uncommon to encounter weather with blowing dust, snow, and fog. The lower frequency low beams glare noticeably less and illuminate the near field better. Low frequency bulbs were also originally installed in the OEM fog lights, but there are now Baja Designs Squadron Sports in the fog pockets with yellow lenses. Courtesy light bulbs throughout the interior were replaced with higher output LEDs as well as the reverse lights. This is an easy upgrade for more lumens without a higher power draw or the need for additional fixtures.
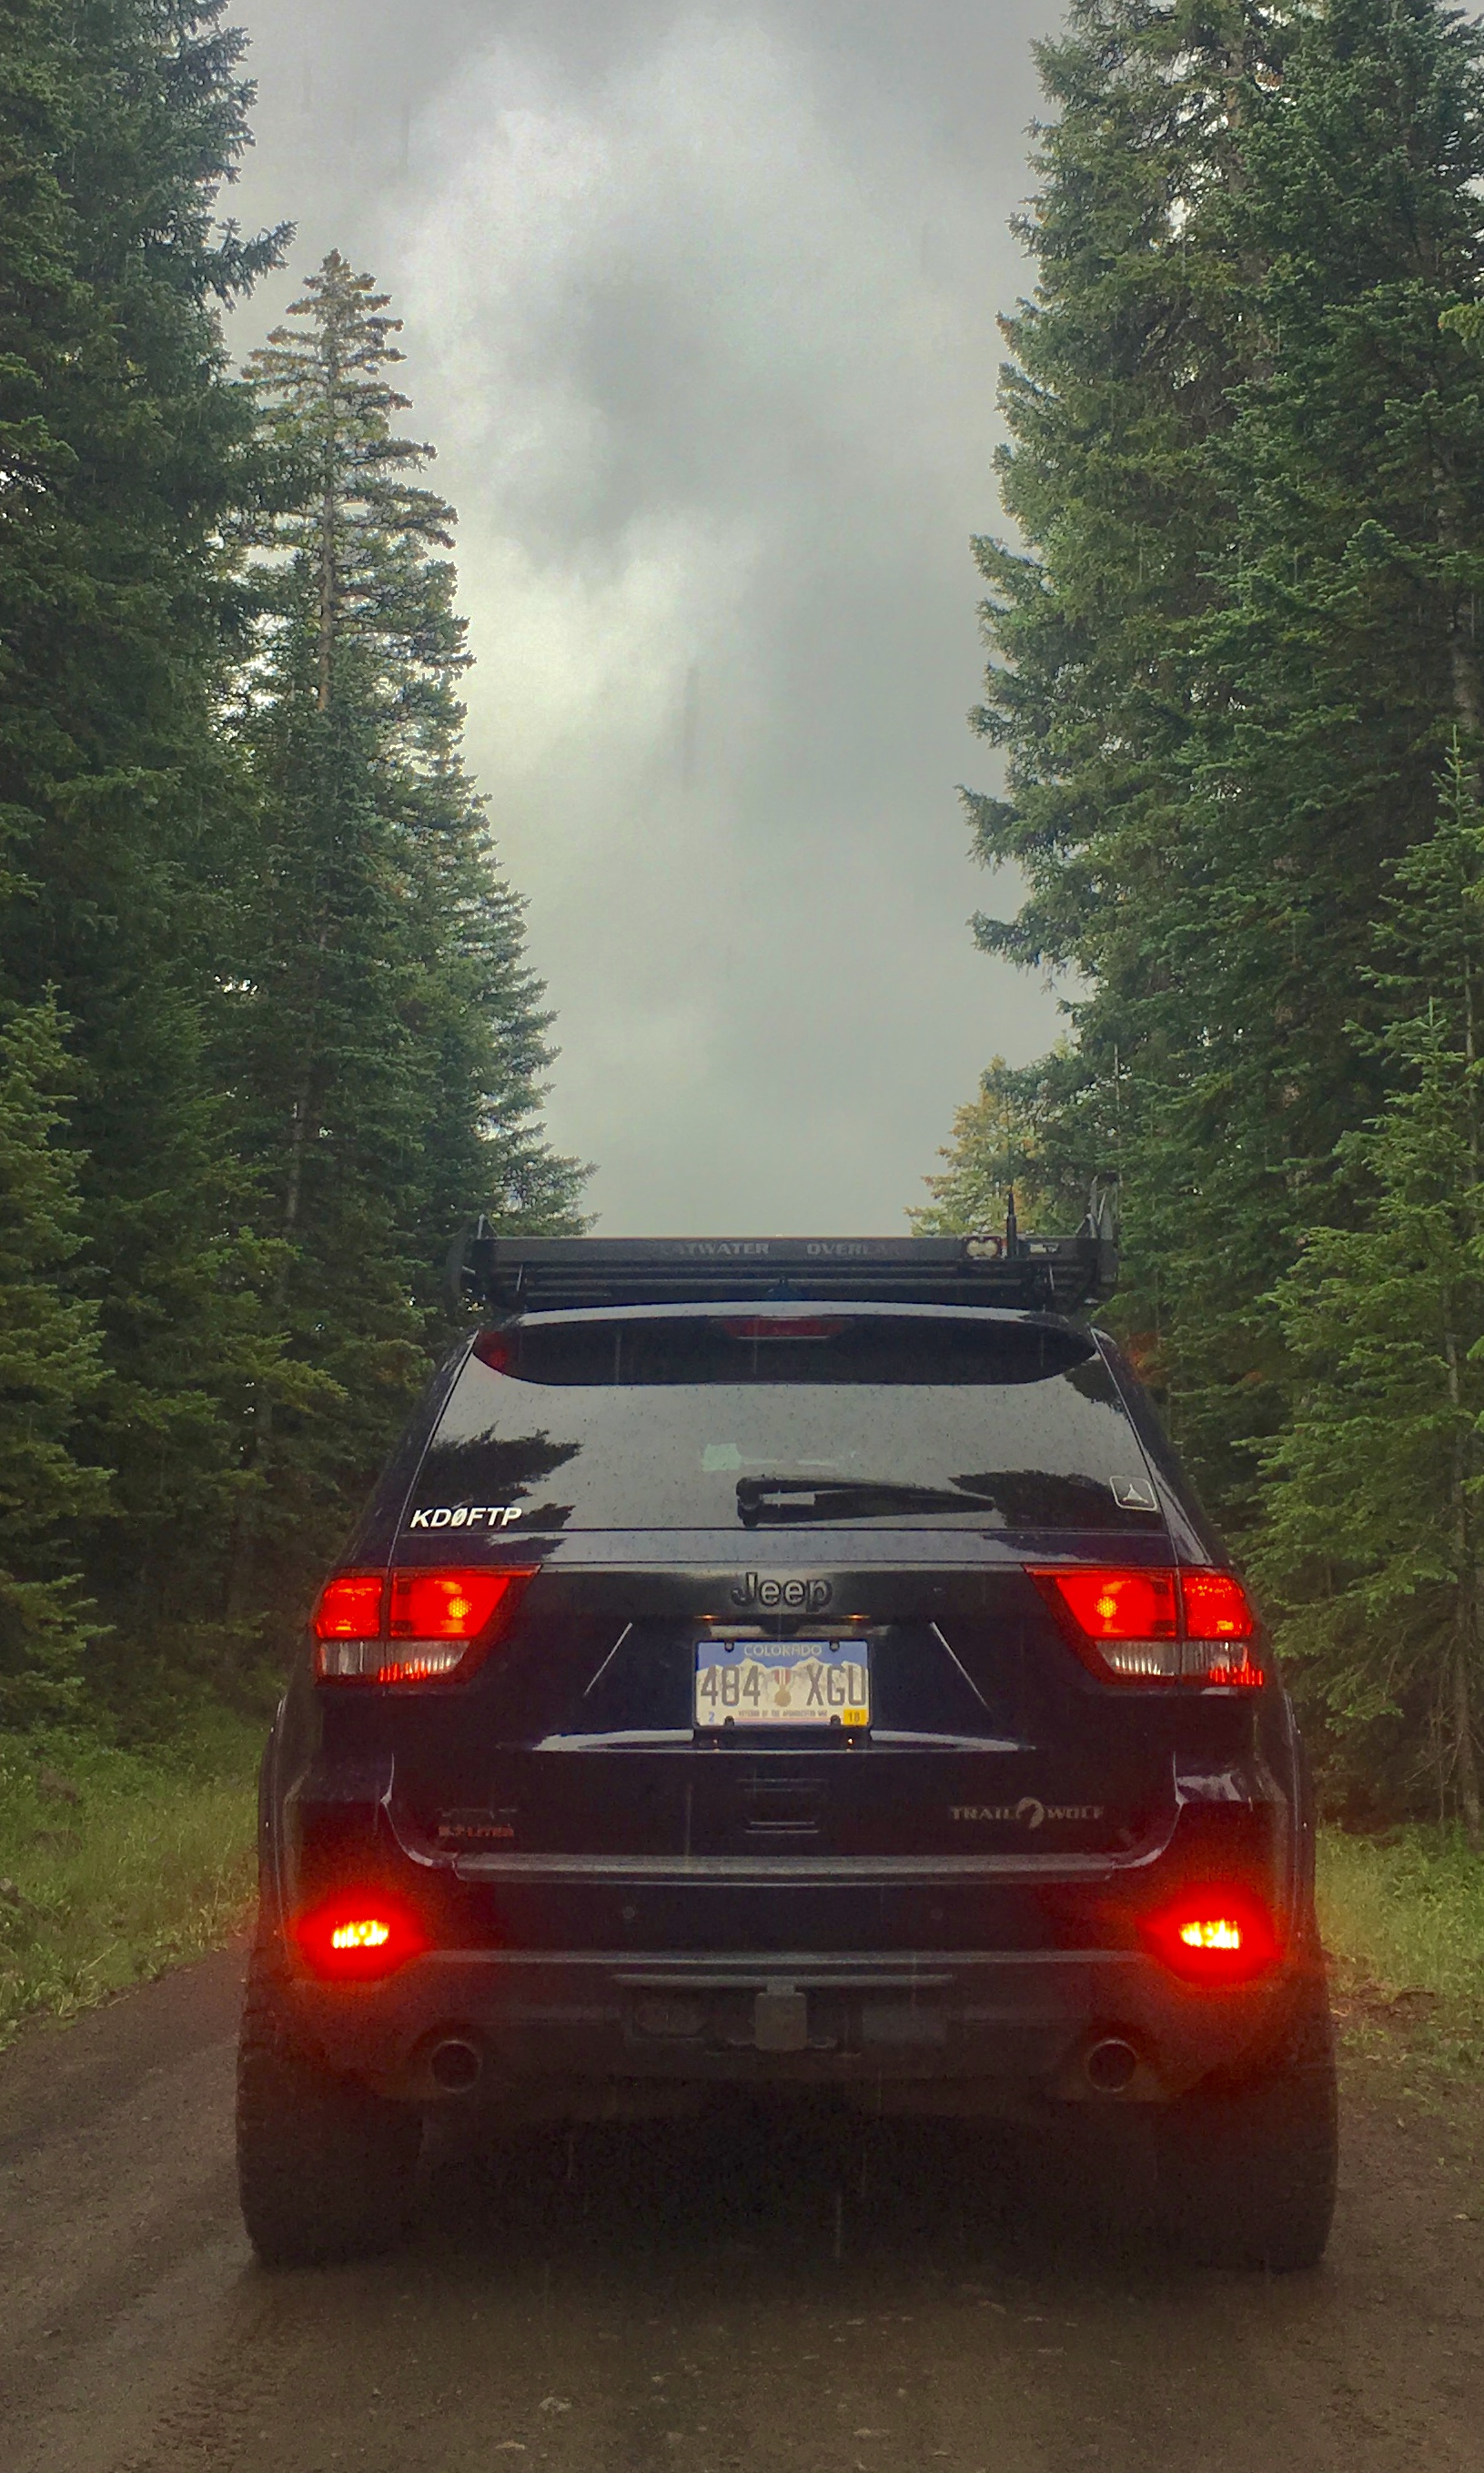
The MOPAR rear fog light kit was installed in place of the plain reflectors in the rear bumper. The harness required some extensive labor to install through the vehicle, but they switch in line with the OEM fog light circuit as they should. There are aftermarket kits out there which turn these housings into additional tail lights, but I was not interested in that. I prefer to have rear fog/dust lights. They are activated by a relay controlled by the front fog lamp circuit.
Previously mentioned was the low frequency fog lamp bulb additions. In practice, the difference between fog and driving lights is optics. Fog lamps are meant to illuminate the near, wide field of vision in bad weather conditions while driving lamps are focused for longer distance road surface illumination. I was more interested in fog performance. Since installing the Baja Designs Squadron Pro lights, I have the best of both worlds. On the early WK2, 2011-2013, the OEM fog lamps are nearly identical to what is found on the JK Wrangler. This allows for using a “JK Fog Pocket Kit” to mount the Baja Designs lamps securely in the factory spot. (The fog pocket kit does not seem to be available separately anymore. Contact Baja Designs customer service if you want to customize the order) The sizing and shape of the Squadron lamps is perfect for the OEM location. They draw less current than the OEM fogs, so no circuit changes beyond the light connectors are necessary. Baja Designs lights, including all their LED products are truly American Made. They are also user serviceable which allows for swapping out different lenses in the housings appropriate for changing use if necessary. Their customer service and warranty is also second to none. The only downside to the Squadron Pros now in the fog pockets is their incredible output. Each pod emits a real world 4900LM/76,194CD. This is almost twice the output of both headlights from one pod! Obviously, too bright to use in traffic. A “downgrade” to Squadron Sports has since been done. These produce 3150LM each. Still extremely bright, but more suitable to road use. Baja Designs now has SAE rated Squadrons for legal fog lamp use and installation kits for many vehicles.
Auxiliary Lighting: Extra lighting is as ubiquitous on 4x4s as large, knobby tires. It’s not always necessary or useful. I prefer to have extra light when driving deep in the backcountry, or even on a lonely county road. Where I grew up and also now live, animal strikes at night are an important issue. Preventing these impacts can be as simple as being able to see the critter in time. Besides, who doesn’t like to see as much as possible when you are off road at night!
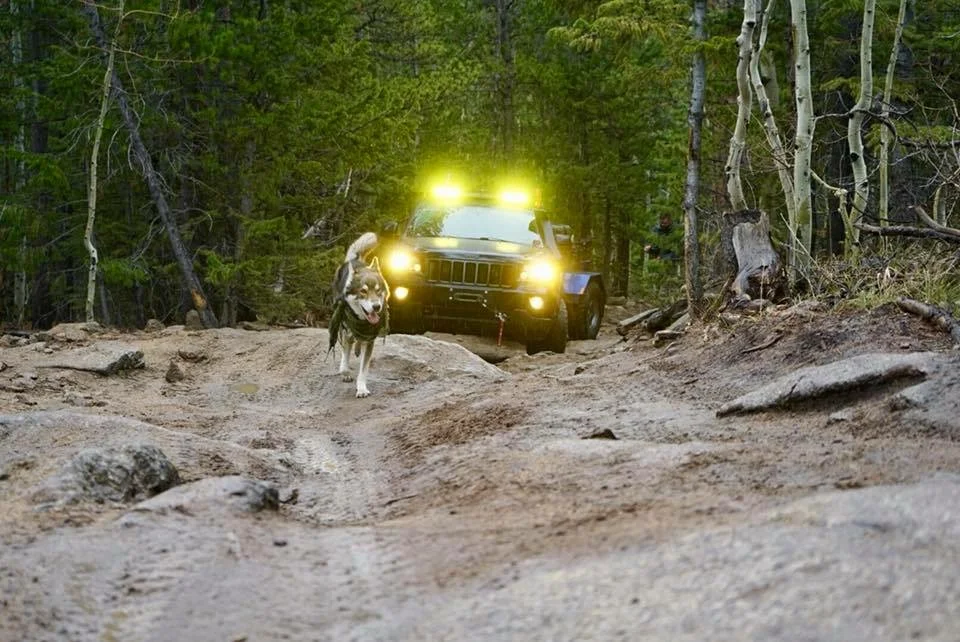
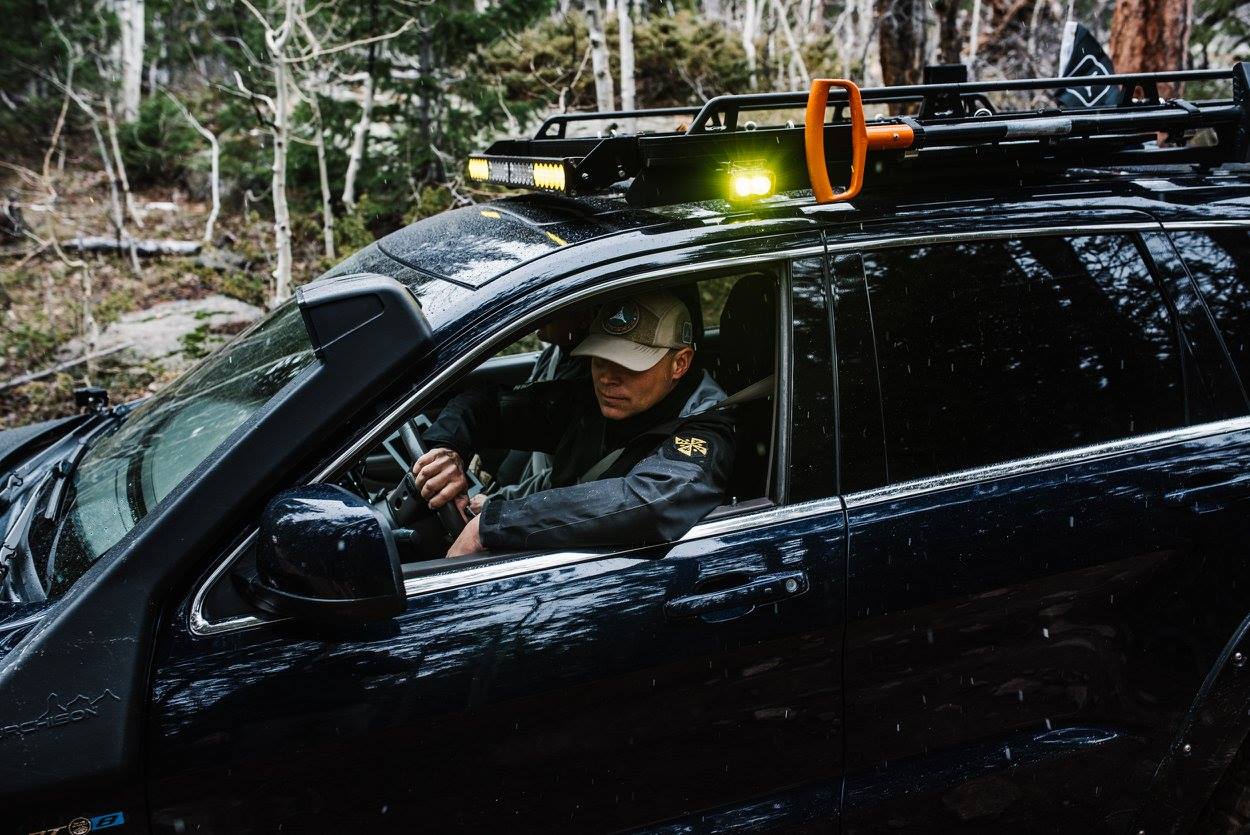
I found that having DITCH LIGHTS- auxiliary lights that illuminate areas to the sides of where the vehicle headlights reach- can nearly eliminate strikes and close calls. Since testing the configuration on my second Wrangler over a decade ago, every one of my vehicles gets ditch lights installed. Ditch lights are best mounted above the headlights and pointed in such a way that they illuminate the areas to the left and right of the headlights. This should include the ditch areas. The Ditch Lights on the WK2 are Baja Designs S2 Pro pods with the Wide Cornering lenses. These tiny pods produce 2,450LM at 24 watts! The pods are wired in a custom harness to automatically activate when the headlight high beams are activated. This prevents accidentally blinding oncoming drivers in traffic. The S2 pods were mounted on aluminum brackets from Shield Productions.
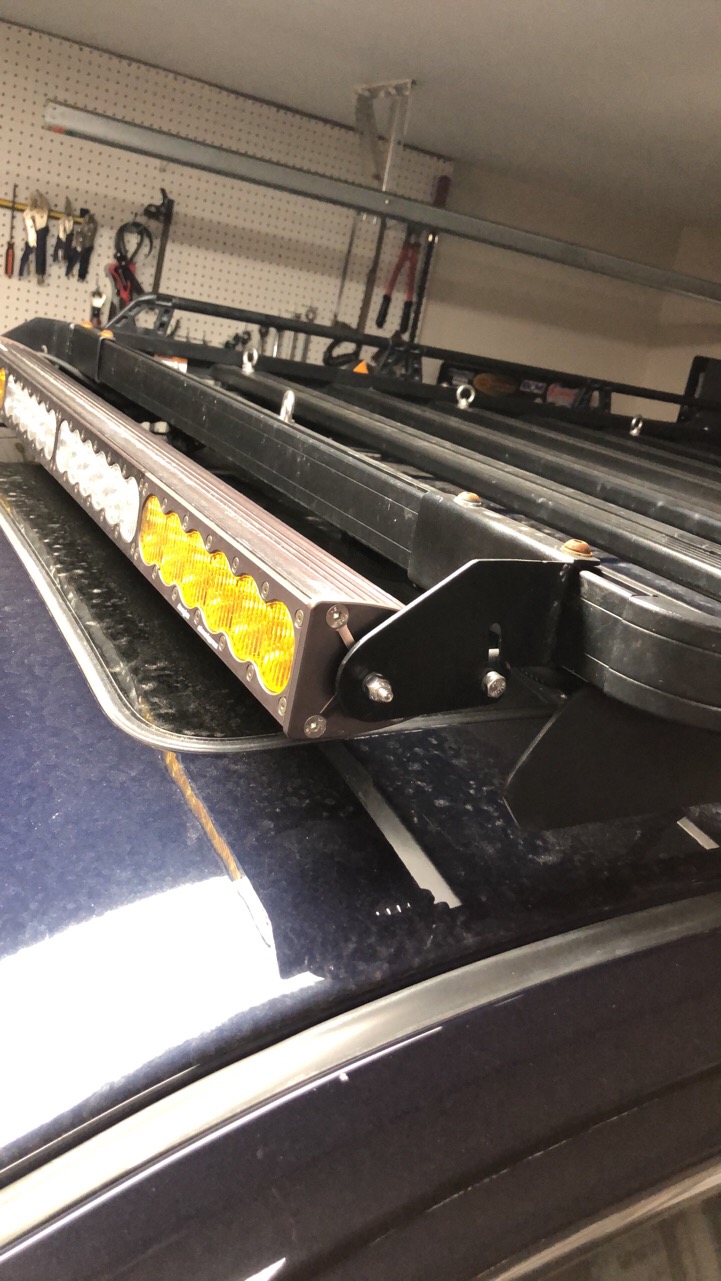
The notorious LED LIGHT BAR- was not an easy decision. I was long reticent about installing such things as I had been very unimpressed with their performance as not fond of the aesthetics they created. I tested out the concept on another Jeep with a cheap dual purpose light bar, and it seemed to be sound if one could have dual use for low speed/bad weather and also for long range high speed coupled with sufficient output. The only light bar I found that fit my requirements was the Baja Designs ONX6 with dual control. This is not an inexpensive piece by any stretch, but the overall quality of Baja Designs is without question. The bar produces a total of 29,400LM at 234W and 20A current (although in my setup, only half of the bar will be active at any time). The 40” ONX6 was employed with somewhat complex wiring. The bar as a whole can be shut down completely, but the amber sections (storm lights) can be controlled with the fog lamp circuit while the white center sections can be conversely activated with the headlamp high beams as desired. The “Storm Lights” are a combination of lights on the Jeep that illuminate the near field perimeter of the vehicle for safer operation in extreme weather. Activating the storm lights circuit will turn on the 2 amber sections of the 40” light bar, two additional side facing Baja Designs S2Pro pods on the roof rack, as well as the fog lights and headlight low beams. The “Trail Lights” is a combination of the center white sections of the light bar as well as the ditch lights and the headlight high beams. Although I did not wire it in this manner, each control circuit of the ONX6 Dual control has a third wire; when connected and switched dims the connected banks of LEDs. I simply didn’t require this function.
Additional off road lighting included a rear facing “Camp Light” that helps with a rear area illumination. It proves useful for more than setting up a campsite at night in the backcountry. This is another Baja Designs S2 pod mounted on a custom bracket off the roof rack. Lastly, some low profile LED rock lights were placed around the underneath of the Grand for those after dark trail rides. The rock lights are truthfully more useful to a spotter as wheel visibility on a WK2 is no where near as direct as when driving a Wrangler.
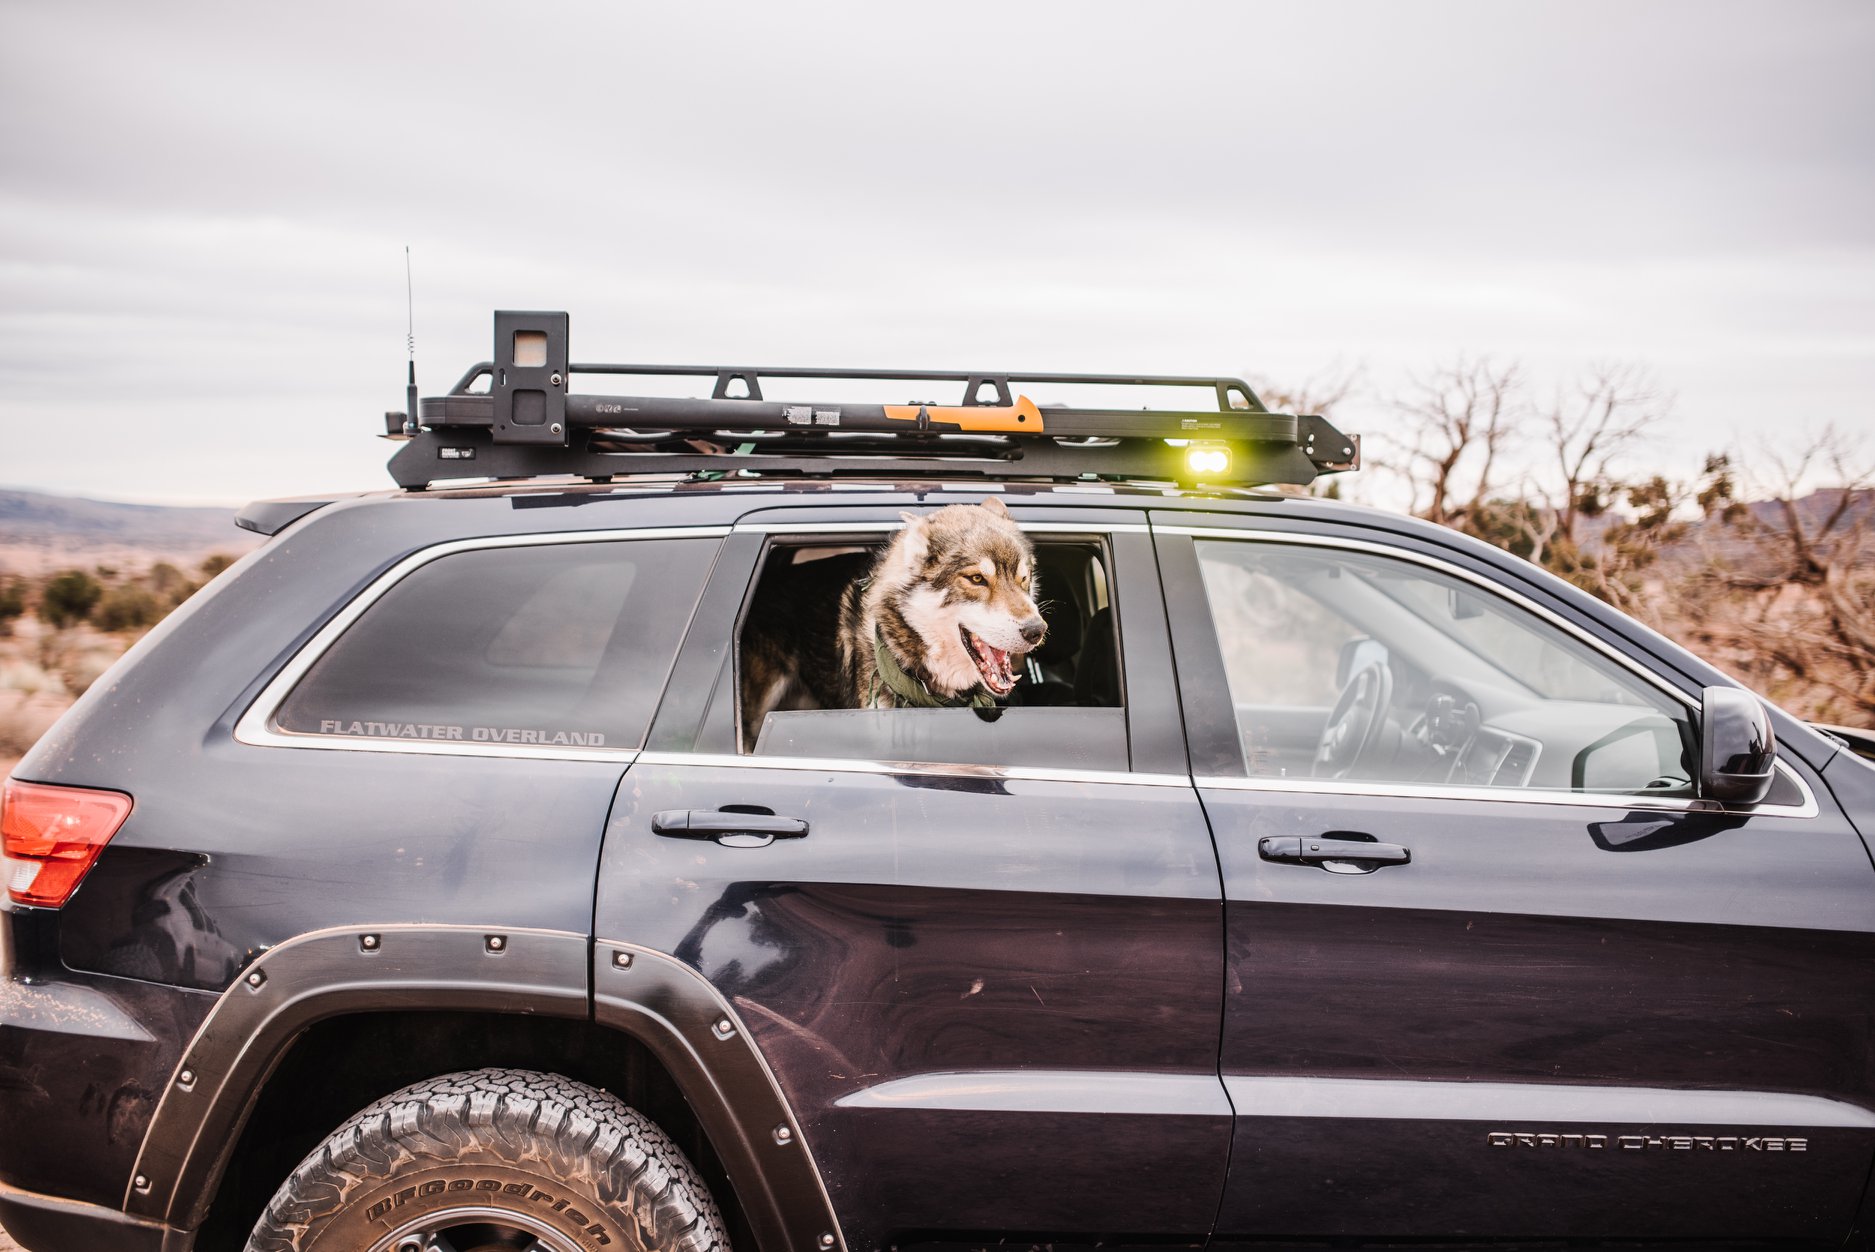

Communication: For overland communications, a HAM radio is truly best. CB’s (legally employed) are limited in range and affected by terrain and weather easily. On flat ground, a 40W 2M transceiver can get you about 50 mile range. Using repeaters and networks, range is nearly unlimited. Not to mention internet linking and APRS capabilities of modern amateur radios. Flatwater team members have FCC licensing and utilize Ham radios exclusively. CBs are fine for club trail rides, some highway use, and the like, but not terribly useful otherwise for long distance communication or data transfer. A Yaesu FTM-400DR is currently installed in the Trail Wolf. It is a fully digital radio with built-in APRS capabilities and a true dual band transceiver. It can also transmit data beyond just APRS location and station information. If communicating with other Yaesu radios with digital capabilities, even digital photographs can be taken, transmitted, and displayed as well as saved on removable memory. The FTM-400 is a remote mount radio. This means the control head/display and the transceiver portion are separate units and can be installed apart. I have the control head mounted to the dash on the right side of the steering wheel on a Kuda mount. The transceiver is mounted on the lid of the electronics bin under the driver’s seat. I also ran an audio cable from the transceiver through the console and up to the stereo head unit. This allows me to run the radio audio through the car stereo when operating. I first used this setup in my Wrangler out of necessity, but it is still a great way to go. The antenna is mounted on a custom bracket on the right rear of the Frontrunner roof rack with the camp light. A spare antenna is also carried. Typically a longer whip with higher gain for use in the backcountry. A stubby is usually attached when running around town.
Electrical Infrastructure: Perhaps more important than what light housings are used is how the custom wiring and other electrical infrastructure is installed in a vehicle. Poor wiring components and installation can easily lead to disaster in an overland vehicle. Since the WK2 comes from the factory with an AGM battery and a 180 amp alternator, little is needed in the power production department. A dual battery setup with an IBS controller is in the works for the Trail Wolf, but not yet installed. More to come on that.
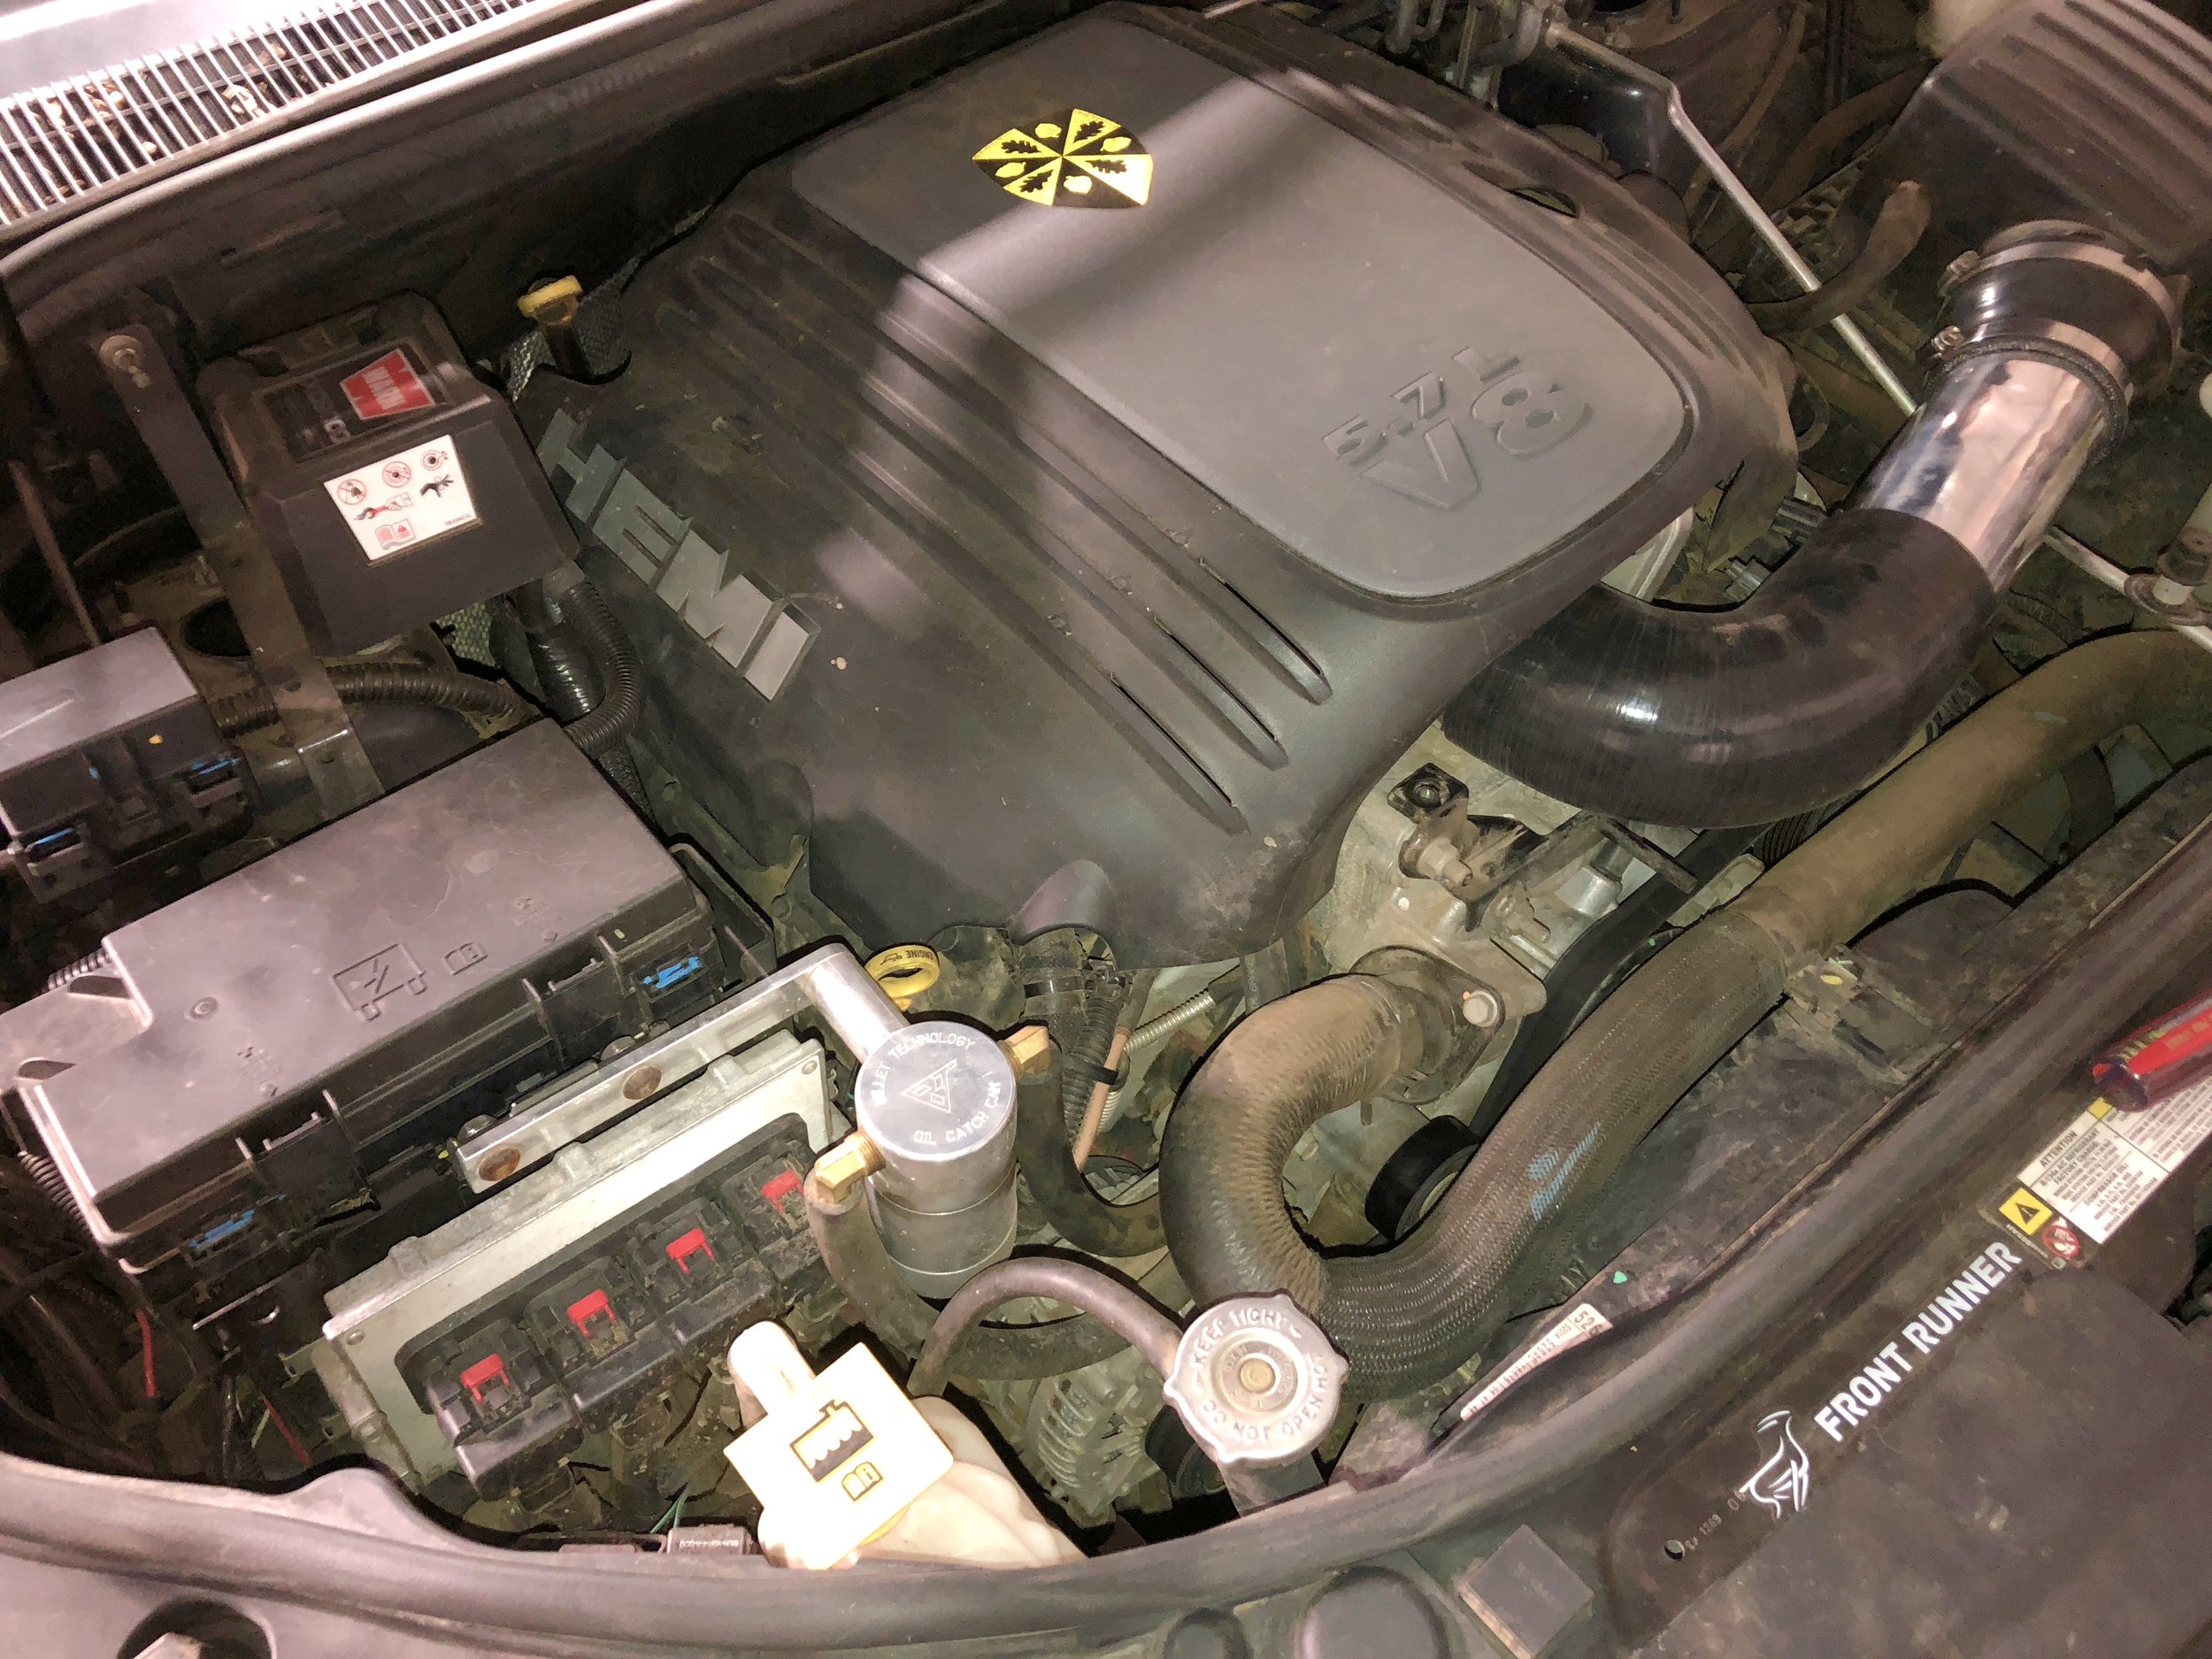
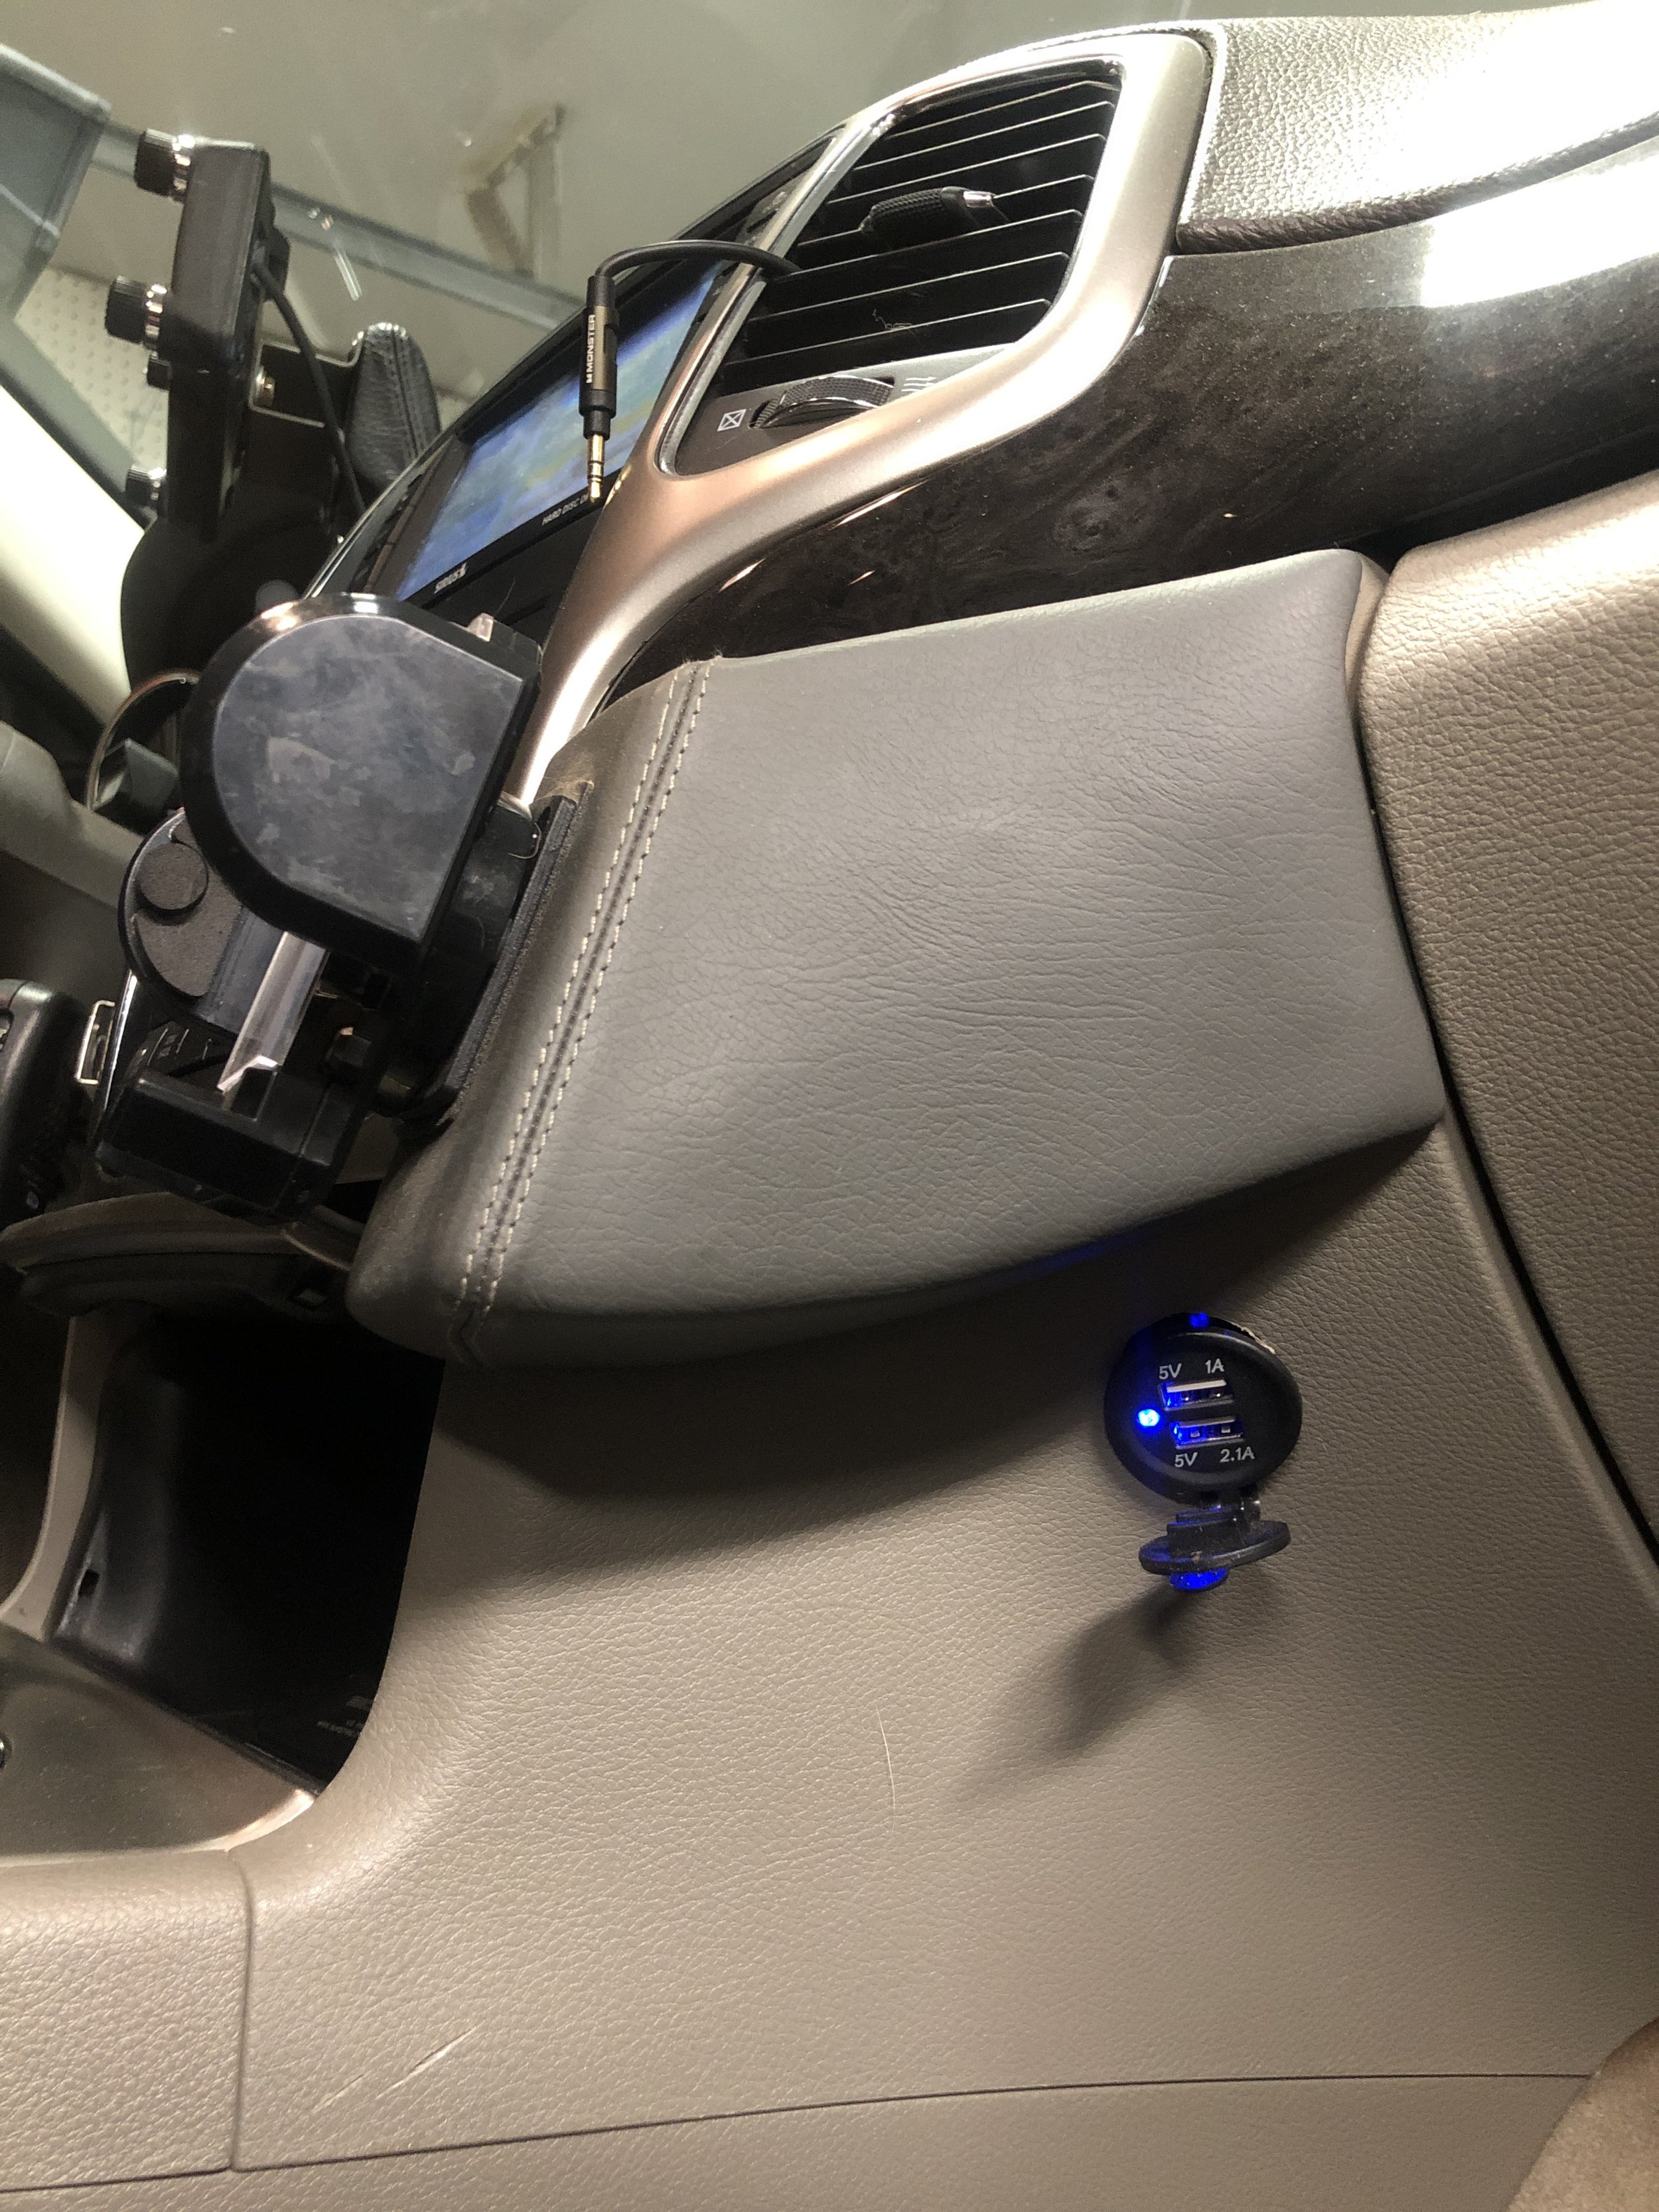
The major addition was an auxiliary fuse and relay block. Some relays had to be mounted in the engine compartment, but most of the fuses and control relays were ran through a recycled 2000 F-150 auxiliary block mounted in the bin below the driver’s seat. If you have a WK2 with the Quadra-Lift system or other luxury components, it is likely this bin will already be filled with computers or relays. A supplemental dual USB power port was installed on the right hand of the dash/console area below the Kuda cell phone mount.
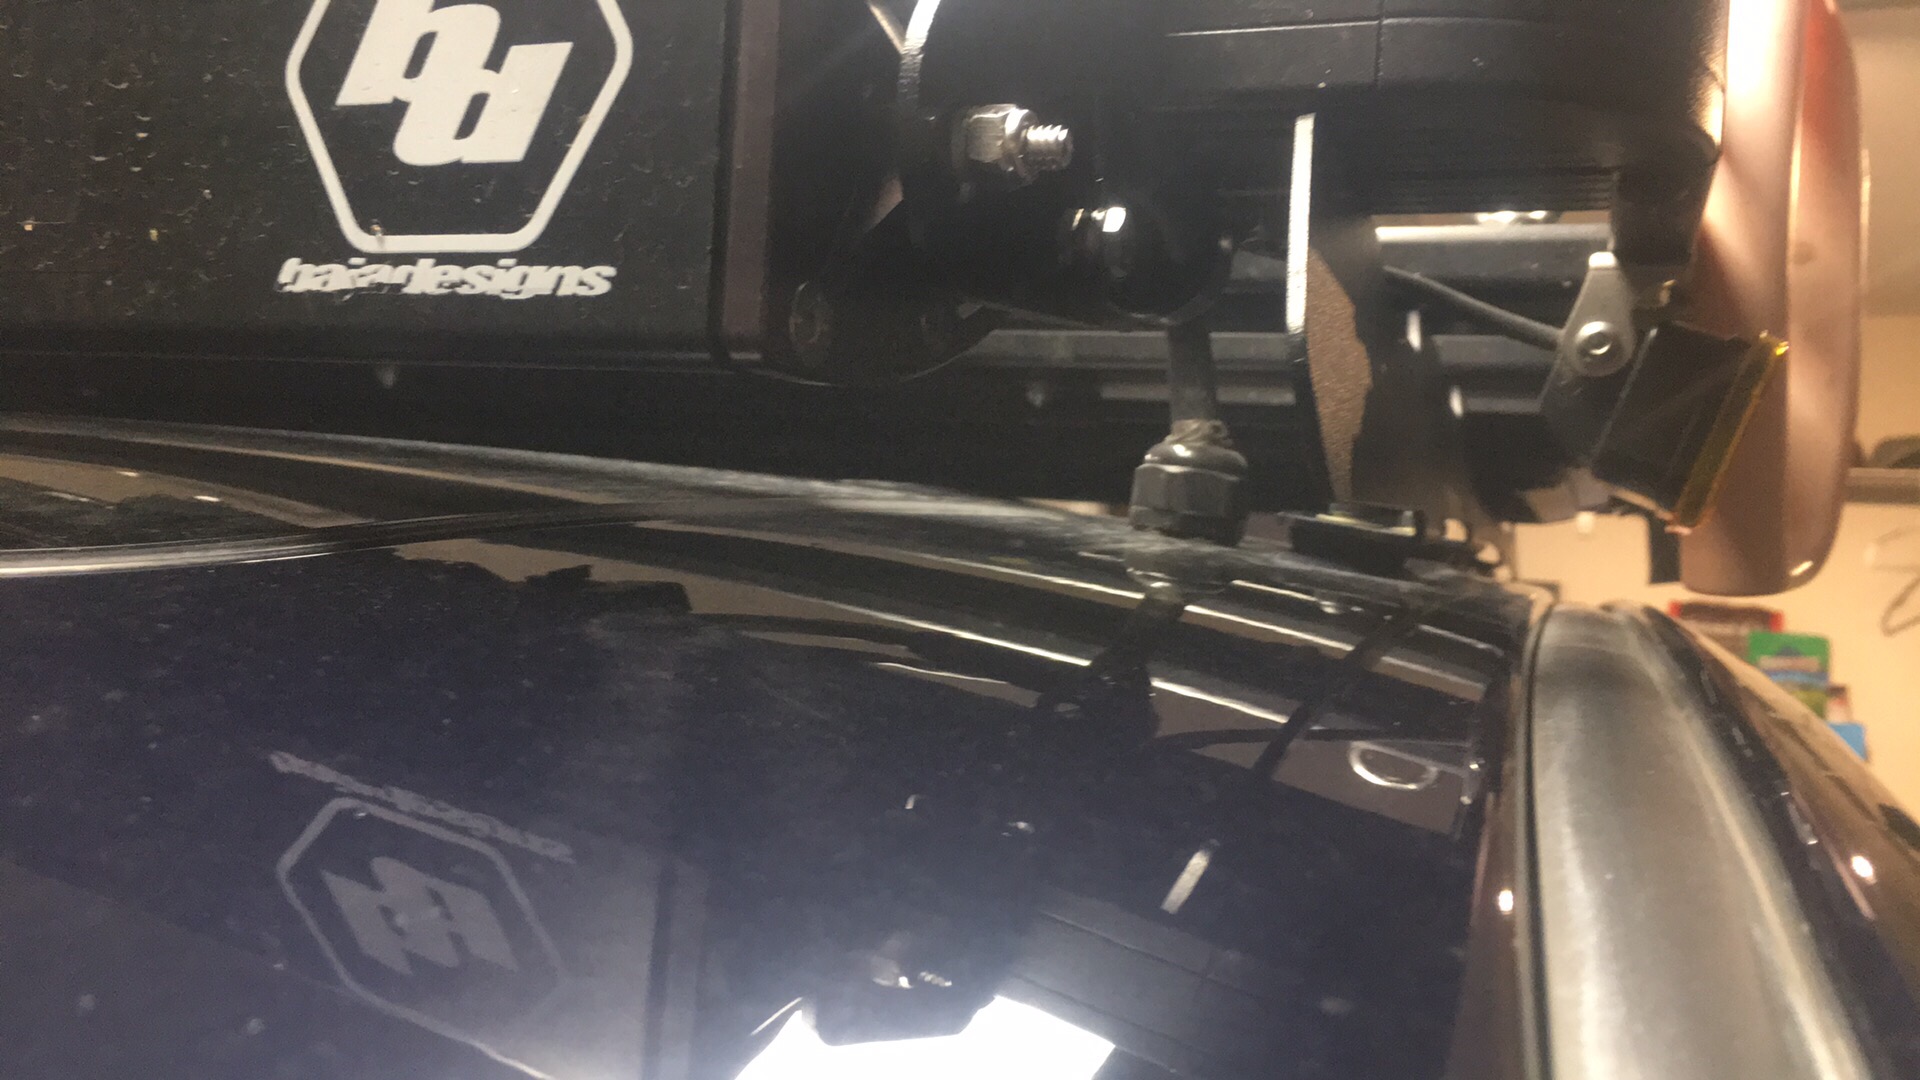
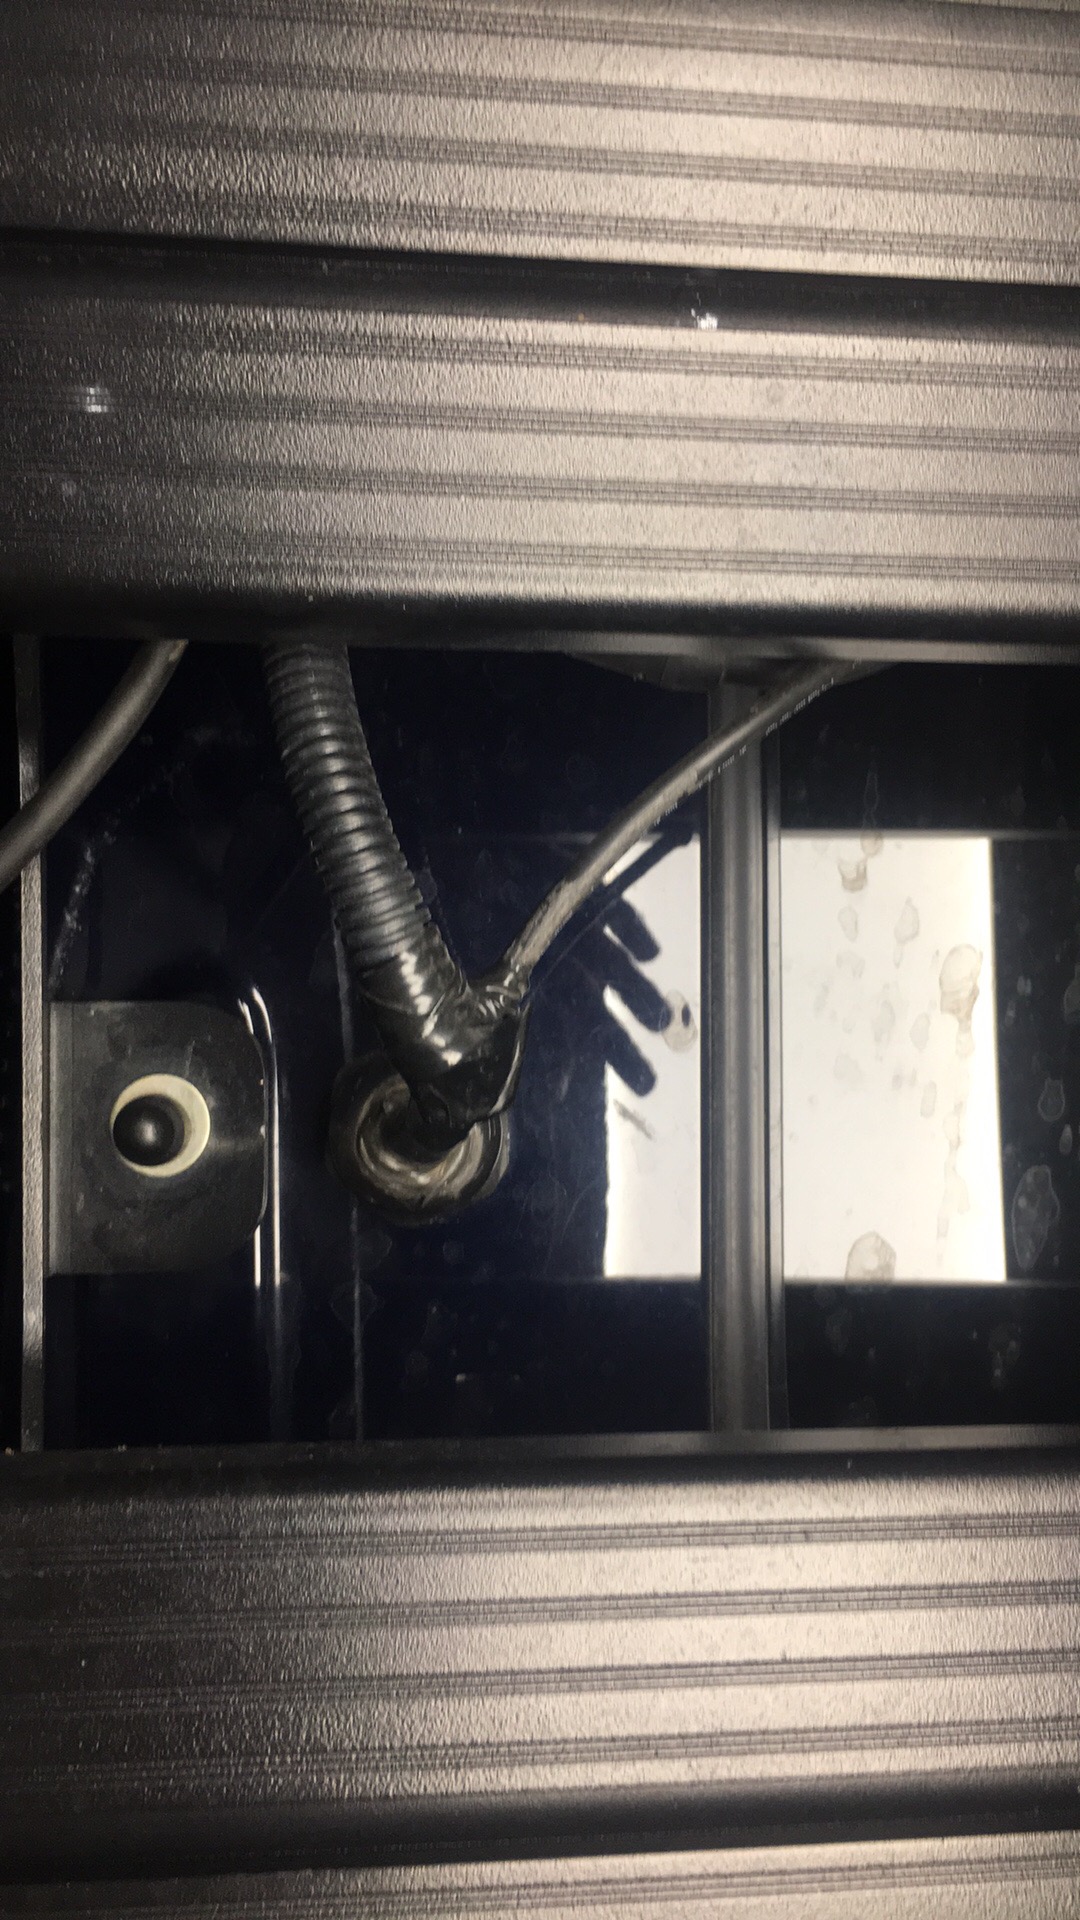
Installing all of the roof rack mounted lights created an issue- how to run the harnesses through to the rack. Everything on this Jeep is a permanent mount, so I decided to use a weatherproof bulkhead connector and cut a hole in the roof. I had used a similar method on the white WK with an antenna bracket from a Honda to good success. The WK2 was going to have significantly more wires passing to the roof, so a watertight bulkhead fitting (also called a cable gland) was used as well as a liberal application of RTV sealant in the connector. This was difficult to install as the roof in the area to pass through is still in multiple layers of unibody which required removing many interior panels as well as partial removal of the one-piece headliner in order to drill out the connector mounting hole. All the panels were left loose until all wires for the custom roof harness were completely ran and the bulkhead connector finally sealed. After a couple years of overland use, no leaks have yet to appear.
The next major additions to the infrastructure will be a second battery in the spare tire well. The custom swing-away tire carrier build will open up that space for storage and the extra power system for connecting the Ute overland trailer and running accessories. This is a near-term project as the new overland/camp/adventure trailer is finally nearing completion. More to come on that project.
